Plugin Details:
Last updated on 10/07/2022
Version 2.1
Tested up to WordPress v6.2
Purchase Details:
NG Events - Single Site License
Description:
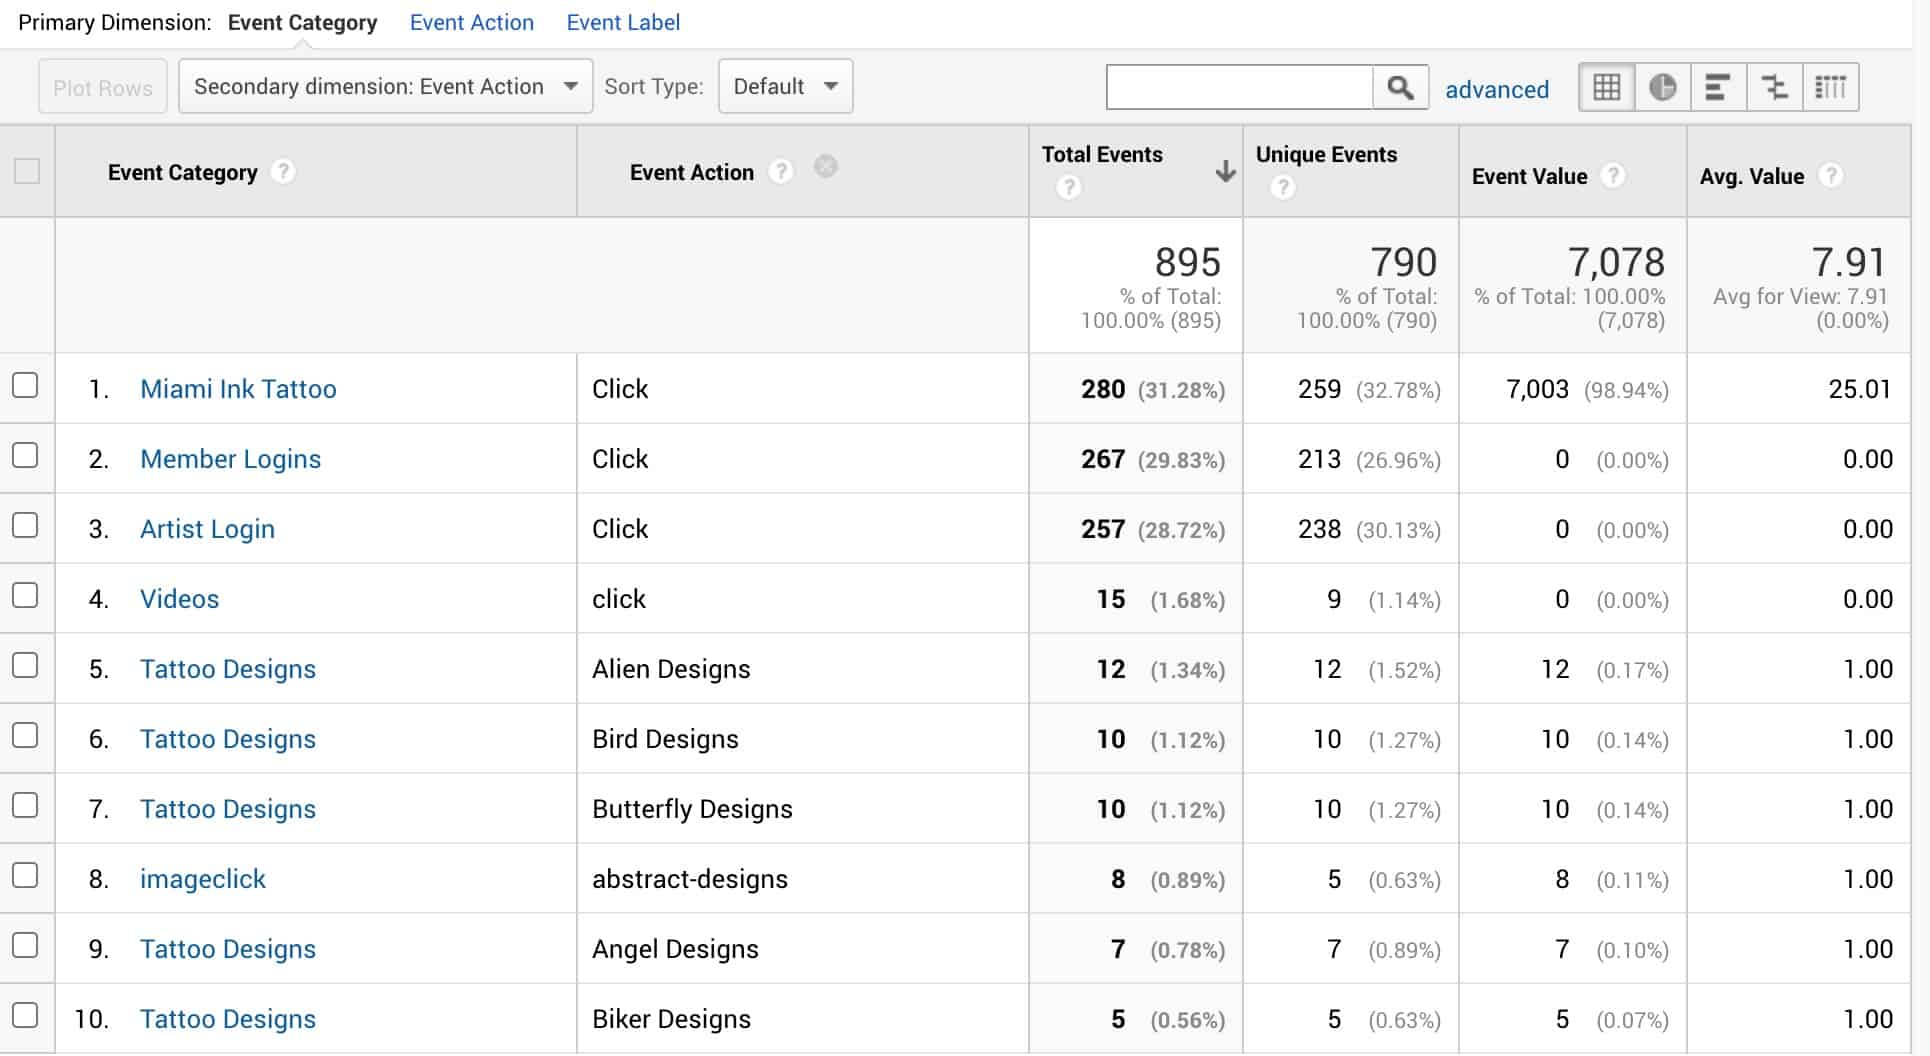
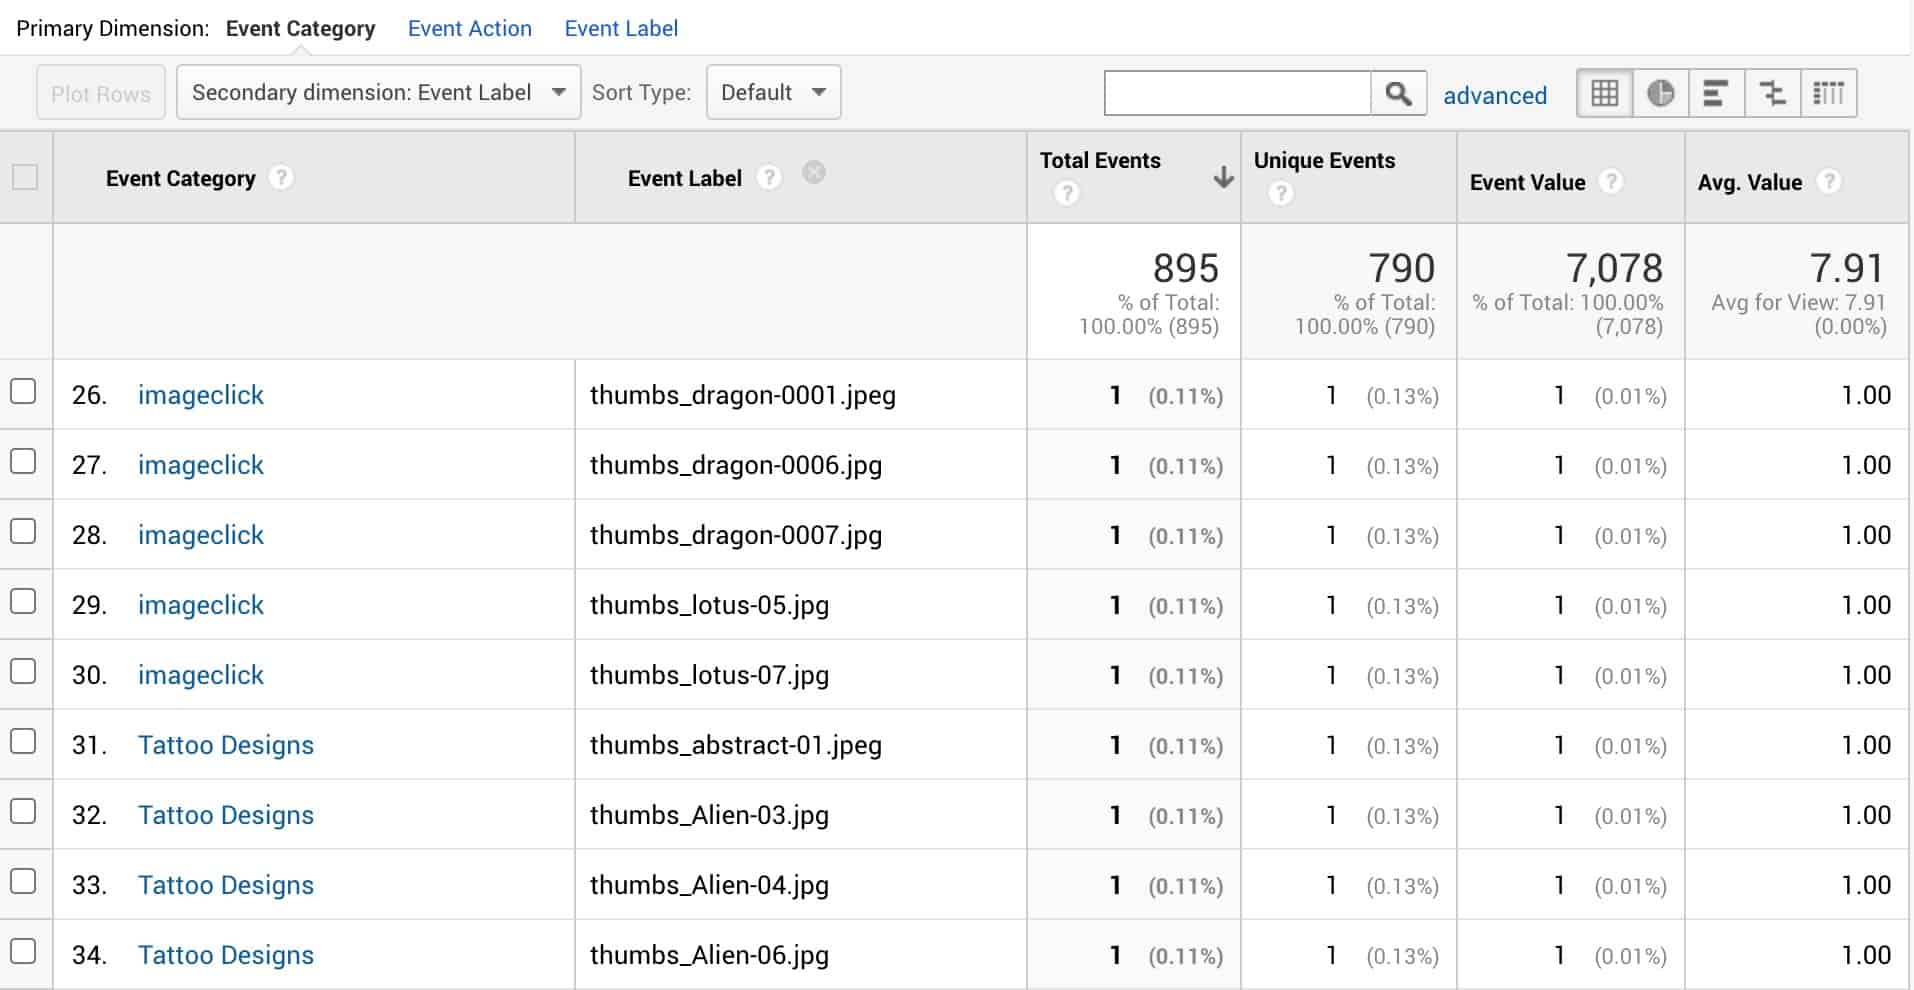
The NG Events plugin adds Google Analytics Event Tracking to the NextGEN Gallery plugin. It adds Event Tracking code to every image within the gallery. This allows you to track which images are getting clicked within Google Analytics.
Features:
- Enable the tracking script globally, only on a parent page (which applies to all children pages), or only on category pages
- Choose your tracking script method – Google Analytics or Google Tag Manager
- Choose the image class (in the event that it may change)
NG Events is beneficial for WordPress website that utilizes the NextGEN Gallery plugin. This plugin was designed to help website owners track add analytics to their image galleries. This can help photographers, artists, painter, stylists, fashion, tattoo artists, and so many more.
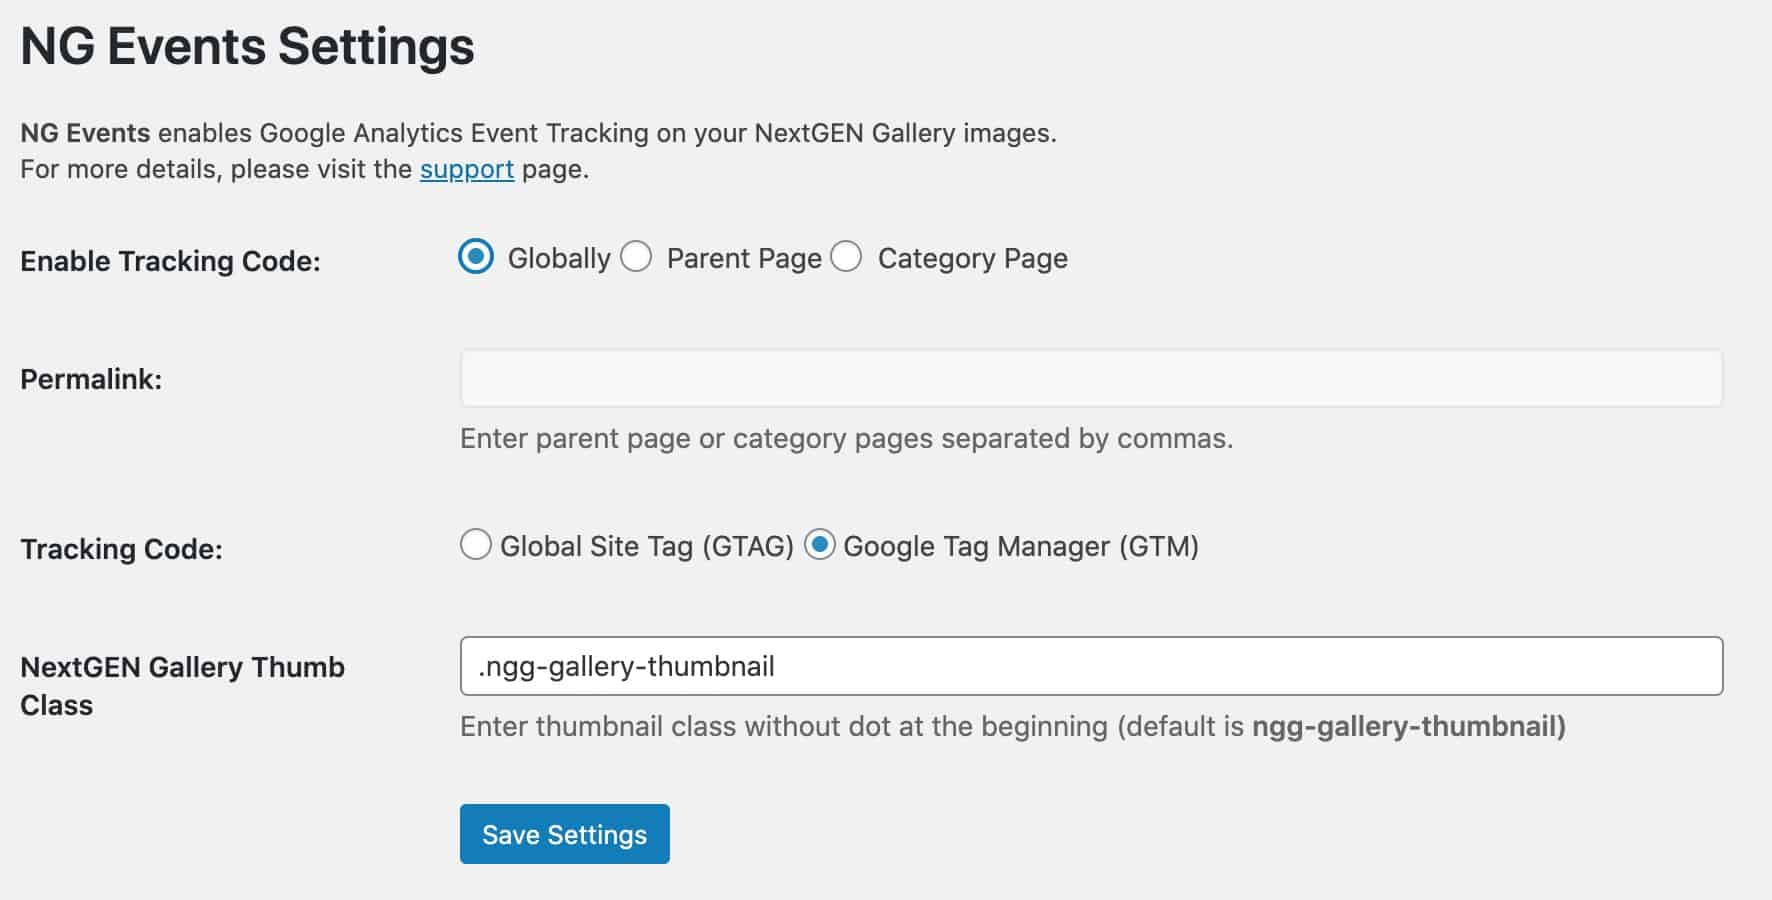
Settings page in the WordPress dashboard
NextGEN Gallery Settings:
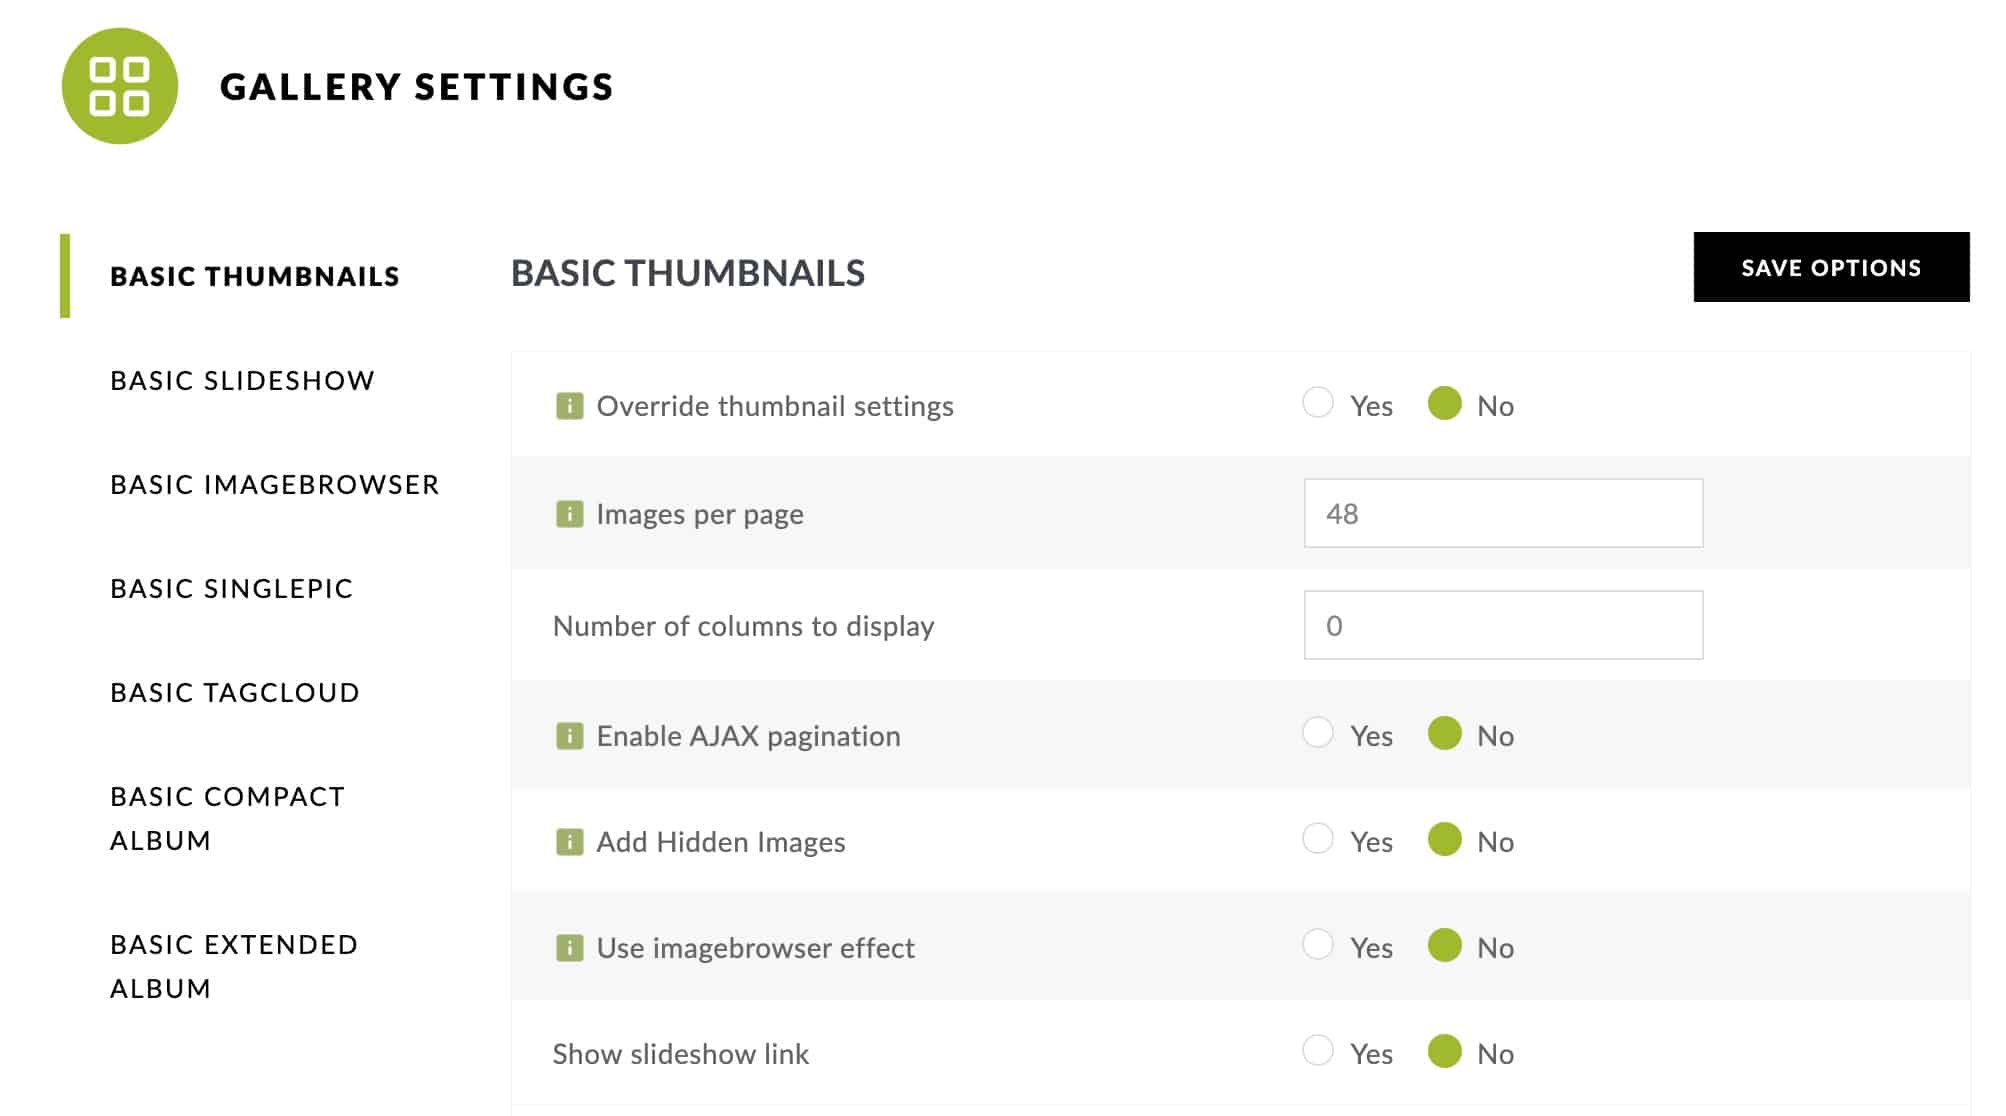
NG Events (version 2.1) does not support Ajax pagination. To track image galleries that have multiple pages, there’s an additional setting that needs updated.
- Visit the NextGEN Gallery – Gallery Settings.
- Under Basic Thumbnails, there’s a setting to Enable AJAX Pagination. This setting has to be turned off in order to track galleries with multiple pages.
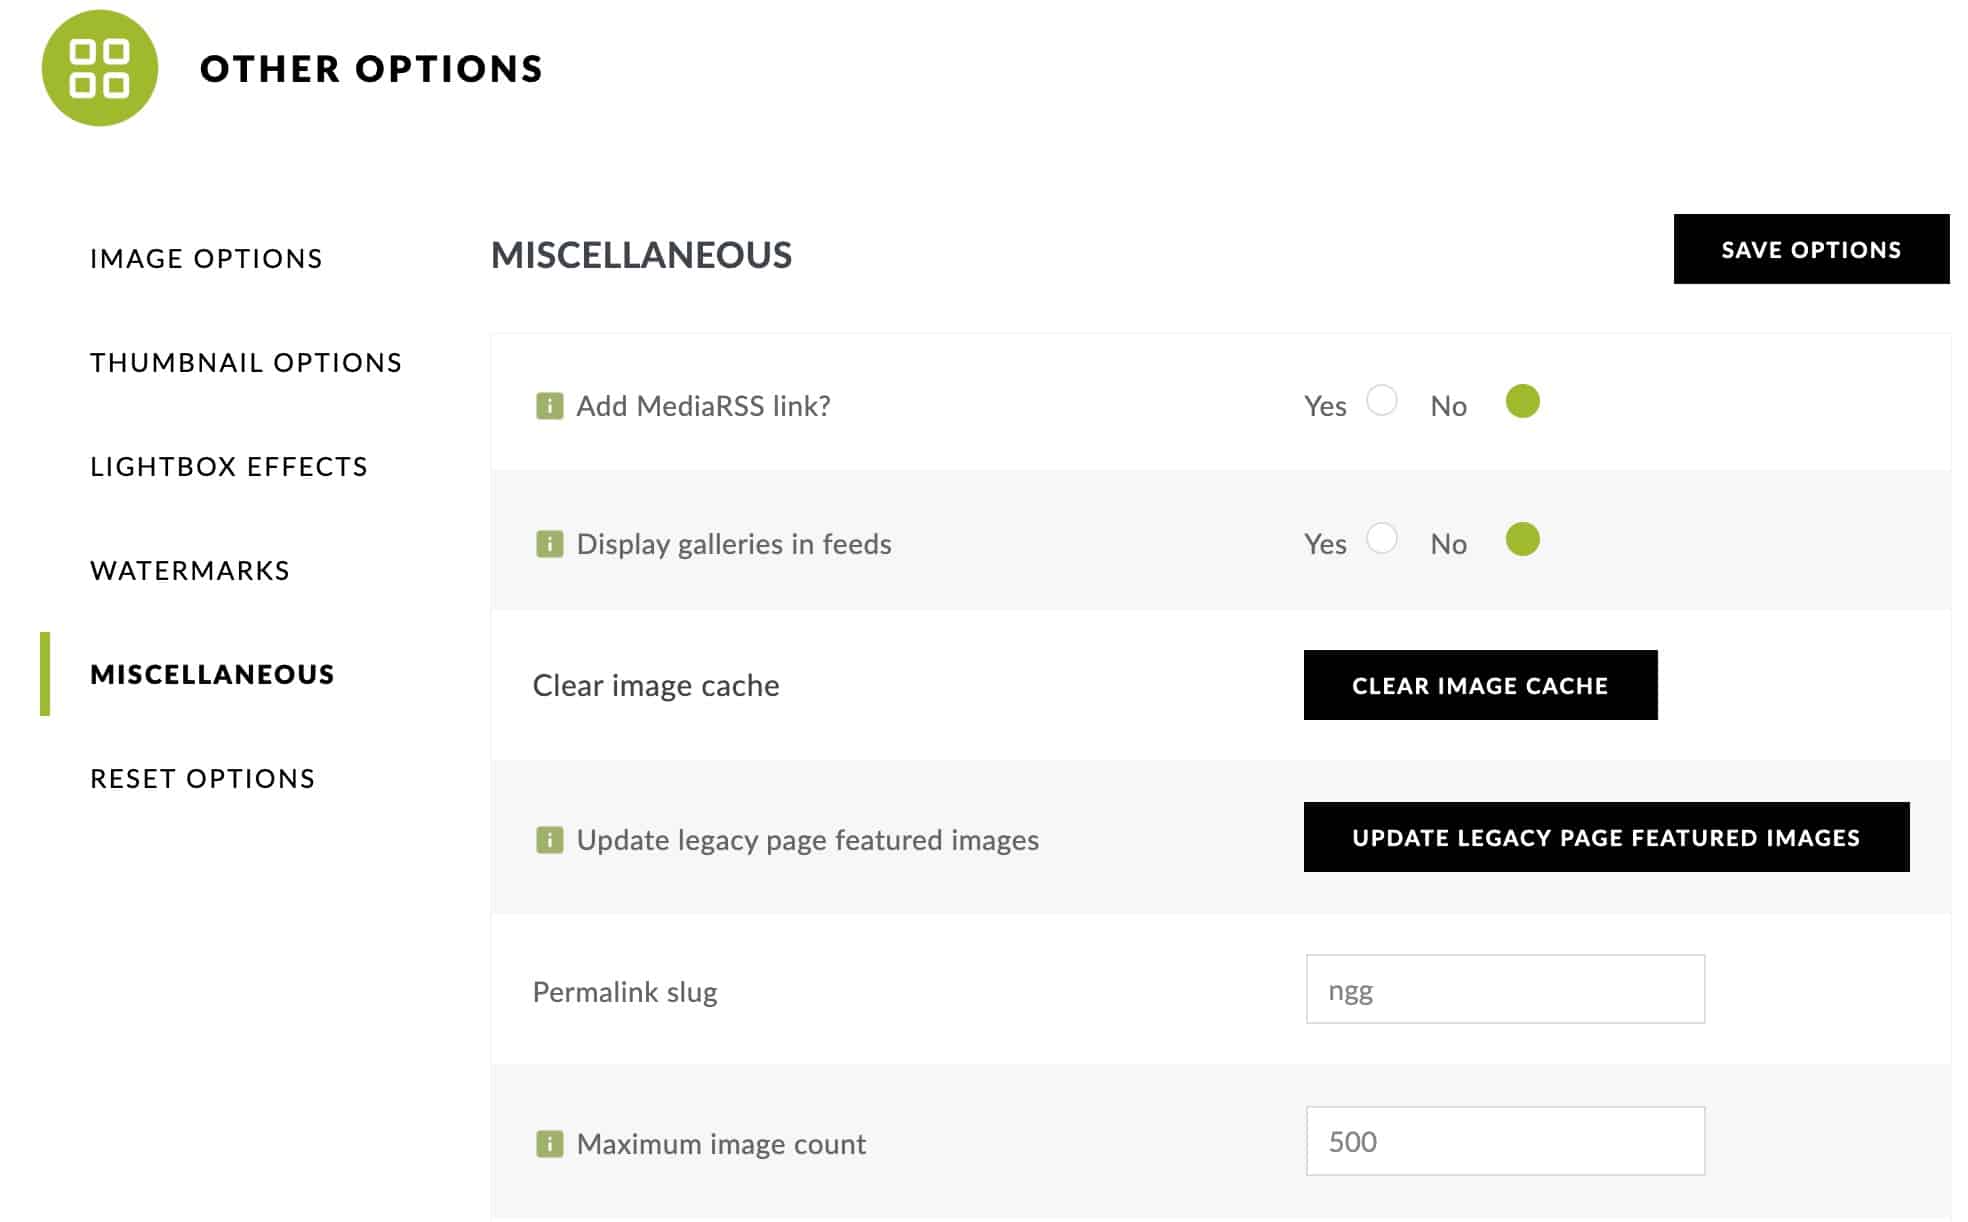
- (Optional) After you make the change above, NextGEN Gallery adds a directory into the URL you may choose to edit. By default NextGEN Gallery puts /nggallery/page/2 in the URL with galleries that have multiple pages. If you want to edit the “nggallery,” go to Other Options and choose Miscellaneous. Then insert your desired permalink in this field ie. “ng” or “more”)
Additional Details for Google Tag Manager:
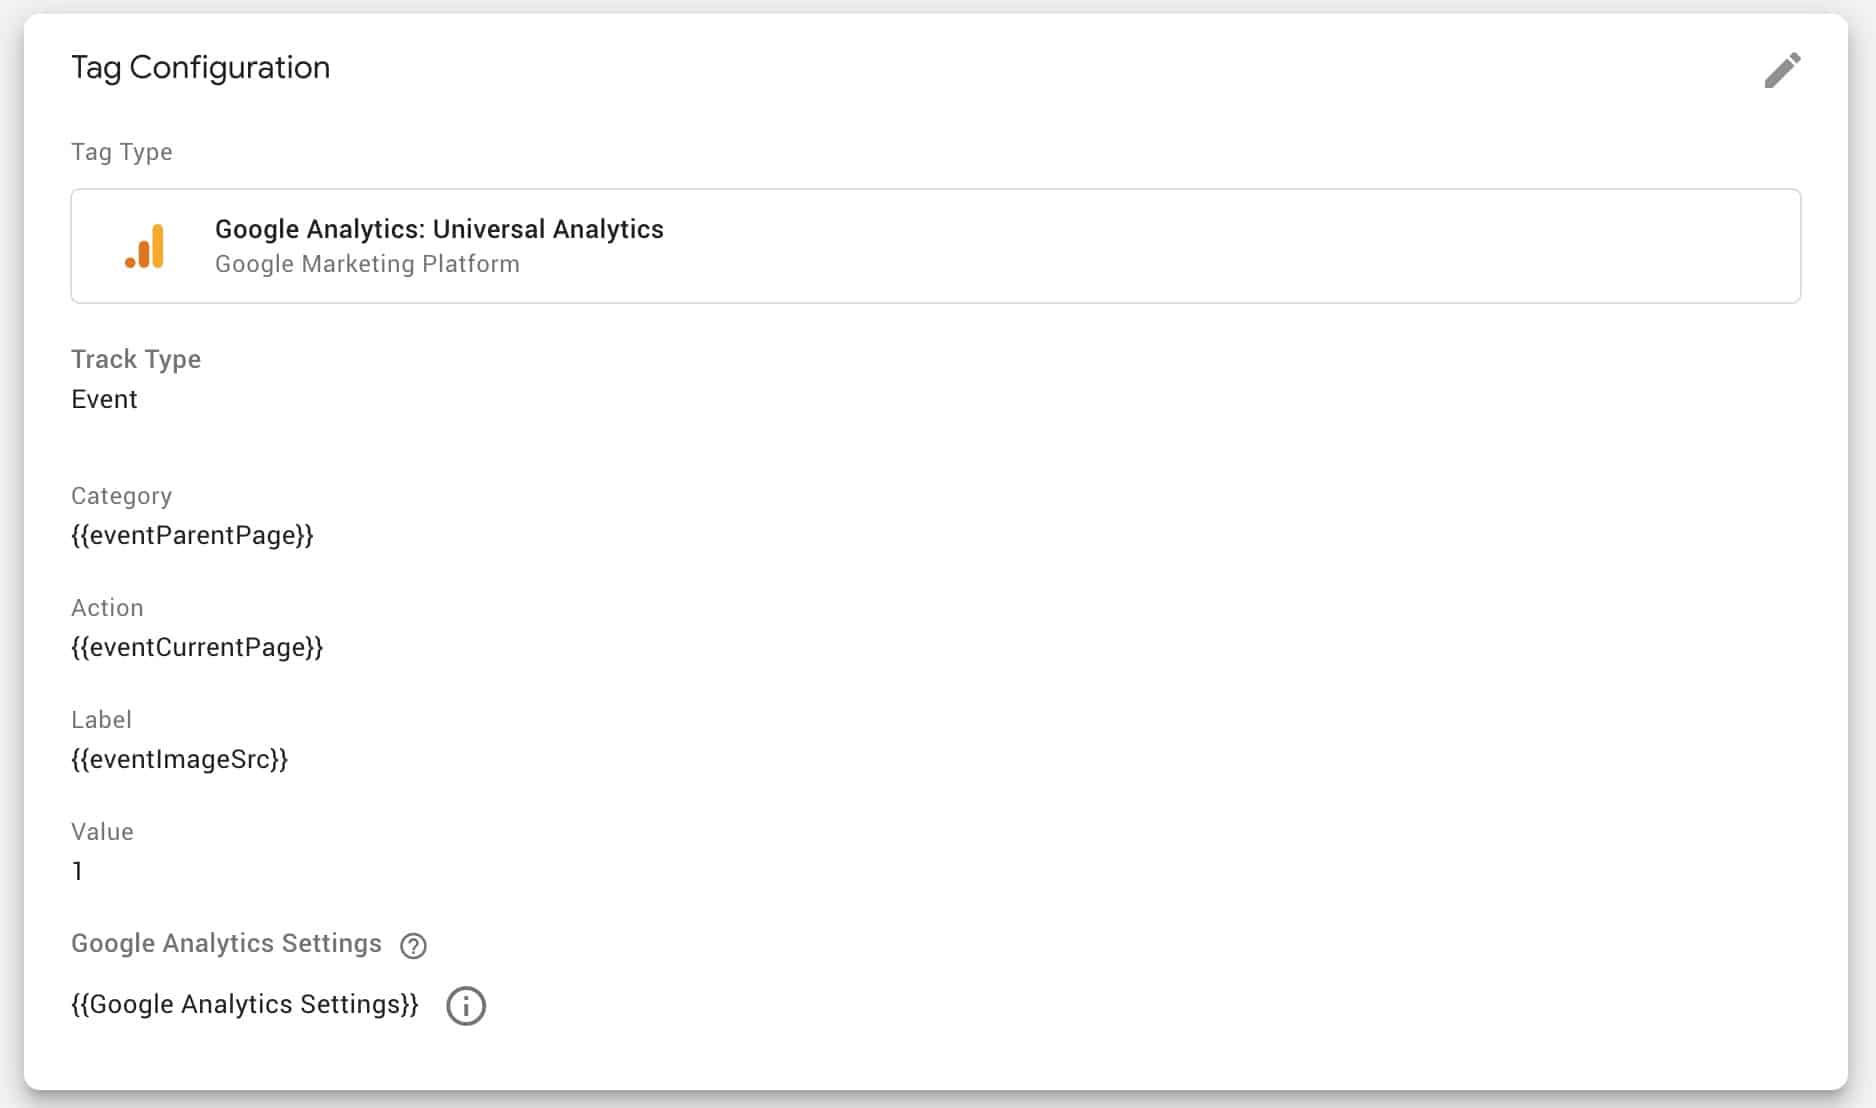
In order to use Google Tag Manager, there are a few extra steps required. You will need to create one new trigger and one new tag. Here are step-by-step instructions on how to set up your new tag and trigger.
Create New Tag
- Click on Tags and then select New
- Tag Type: Google Analytics Universal
- Track Type: Event
- Category: {{EventParentPage}}
- Action: {{EventCurrentPage}}
- Label: {{eventImageSrc}}
- Value: 1
- Google Analytics Settings: {{Google Analytics Settings}}
Create New Trigger
- Click on Triggers and select New
- Name your trigger (ie NextGen Image Clicks)
- Choose Custom Event for your Trigger Type
- Enter an Event Name (ie imageclicks)
- This trigger fires on – All Custom Events
Don’t forget to reference the tag with this trigger.
Once implemented, open up Google Analytics and click on Realtime > Events. Look for the (Events Last 30 minutes) link to see your click events.
These tag details can be tweaked based on how you want the information to display in Analytics.
Frequently Asked Questions
Choose the product that best fits the number of sites you want to install this plugin on.
Yes, NG Events works great on MultiSites
Yes, there will be an additional $99 charge to install and configure the plugin.


